








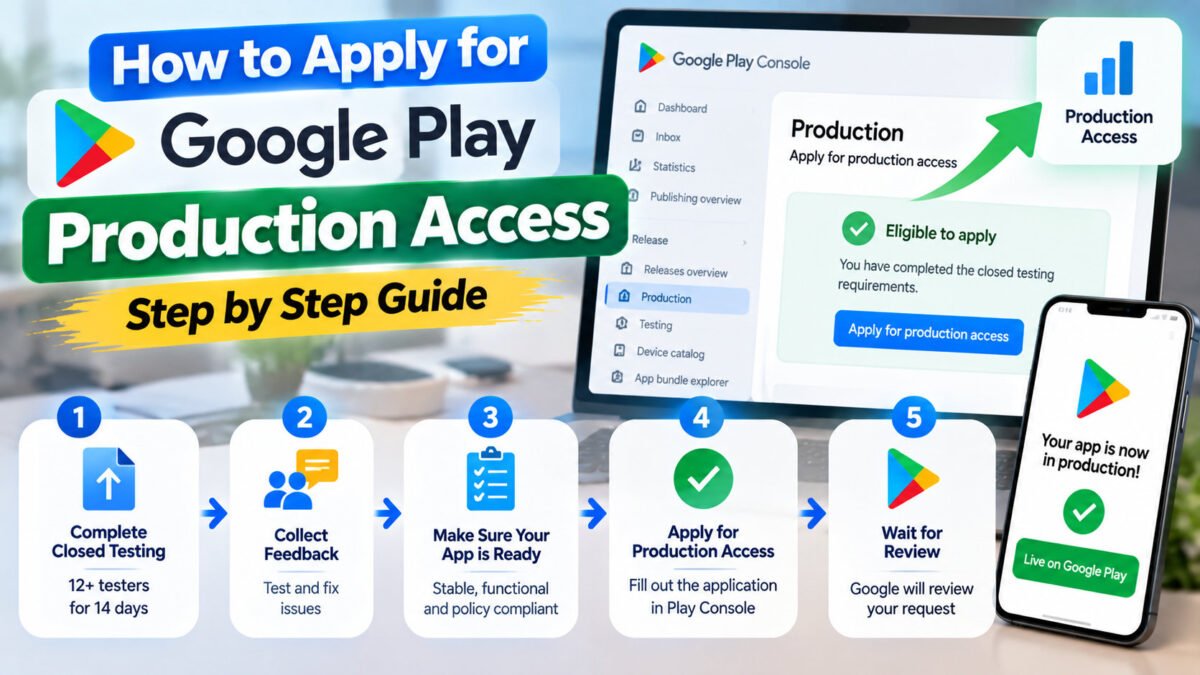
The production-access application is a short form that decides whether your app reaches Google Play. Developers spend two weeks getting 12 testers to stay opted in, then rush the questionnaire in five minutes and lose the review.
This is what to write, and why.
When you can apply
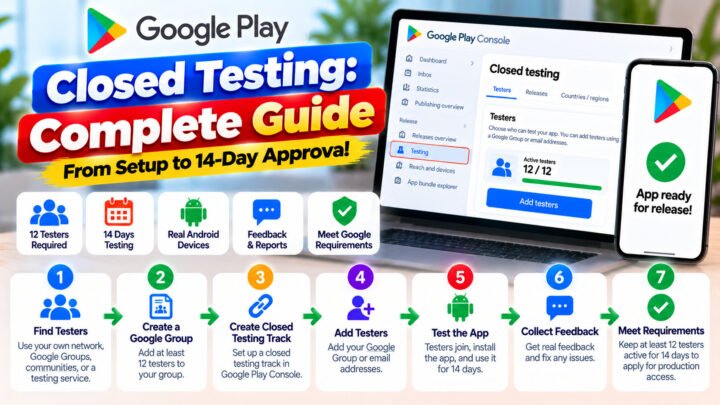
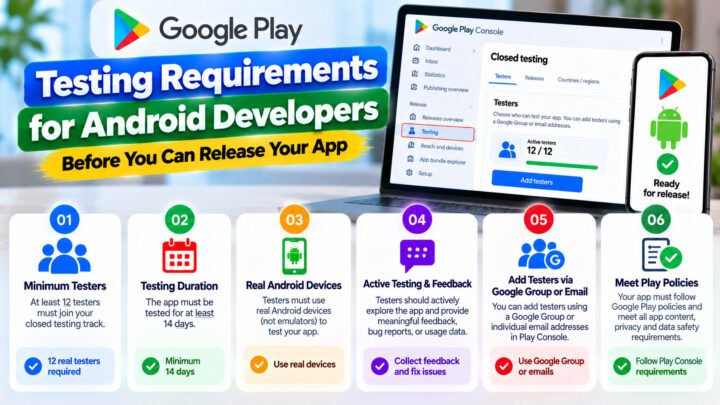
The Apply for production access action appears on the Closed testing track once your test has met the requirement: at least 12 testers opted in for at least 14 consecutive days. If it is not there, the requirement is not satisfied — check the opted-in count rather than assuming the console is broken. See how the 14-day counter behaves.
What the reviewers are judging
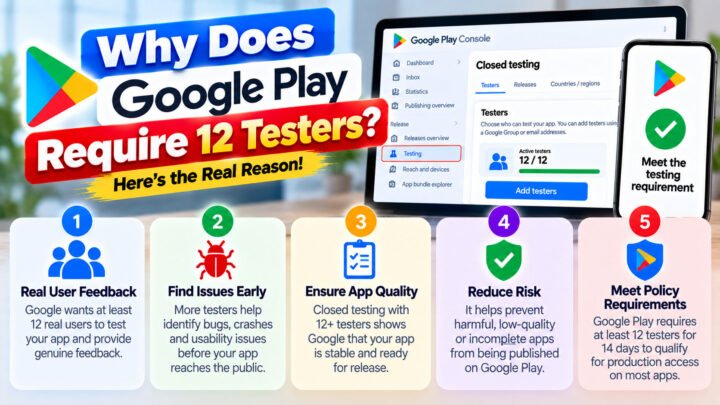
Behind the form, a reviewer is answering three questions:
- Did real people actually use this app? Opt-in counts, device variety, engagement, install retention.
- Was the feedback acted on? Build history, the fixes you shipped, the difference between build 1 and build 8.
- Is this app ready for the public store? Stability, completeness of the listing, policy compliance.
Every good answer on the form is really evidence for one of those three.
The questionnaire, answered
“How many testers did you have?”
Give the real number — the opted-in figure, not the number you invited. If you ran 18 testers with a buffer, say so and explain why: dropouts are normal and a buffer keeps the streak intact. Honest numbers match Google’s own data.
“How did you recruit testers?”
A sentence is enough, and specificity helps: “A Google Group of 18 Android users recruited from our developer community, each with a distinct device.” Avoid implying purchased or automated installs.
“What devices and Android versions were tested?”
List the range. This is the strongest evidence of a real test, because device diversity is exactly what twelve testers are meant to provide. Example: “Pixel 7 (Android 14), Samsung Galaxy A54 (14), Redmi Note 12 (13), Motorola G54 (13), OnePlus Nord CE 3 (14) — 9 distinct models, Android 11–14.”
“What feedback did testers give, and what did you change?”
This is the most important answer on the form. Structure it as problem → fix → build:
- “Push notifications were not delivered on MIUI devices — fixed by moving to a foreground service, build 6.”
- “Login failed on Android 11 when the WebView was outdated — added a compatibility path, build 9.”
- “Testers found the onboarding too long — reduced from 6 screens to 3, build 11.”
Three specific items beat a paragraph of generalities every time.
“What did you learn from testing?”
Answer as a product owner, not a project manager: which assumptions were wrong, and what the test changed about the app. This is where a written testing report pays for itself — you have a list of real findings to draw from rather than a memory of two weeks.
Anything about crashes or stability
If you have crash-free statistics, give them. If you fixed crashes during the test, say which ones and in which build. Reviewers look for a downward trend.
Before you hit submit
- Store listing complete: title, short description, full description, 3+ screenshots, feature graphic, promotional assets.
- Content rating questionnaire done.
- Data safety form done.
- Privacy policy URL live.
- Every policy warning in Play Console resolved — check the Policy status area, not just the release page.
- Testers still opted in and the track still published.
Items 1–5 cause a large share of refusals that developers attribute to “testing”, so verify them before you apply rather than after you are rejected.
Keep the closed test running after you apply. If your opted-in count drops below 12 while the request is under review, the requirement is no longer satisfied and the request can be refused.
Reapplying after a refusal
A refusal is not a reset. You keep your testers, your track and your build history.
- Read the reason literally. It is usually specific: insufficient testing evidence, incomplete listing, stability, or a policy issue.
- Fix the actual cause. More testers will not fix a missing privacy policy; a longer test will not fix a broken screen.
- Keep the test alive while you fix it, so you do not lose the day count.
- Reapply with updated answers — including the fixes you made after the refusal. Reviewers can see the build history.
If you used a testing service, check whether a retest is included. The good ones cover it, because refusals are common enough to plan for.
What comes next
Once approved, create the production release, roll out to 5–10% first, watch the crash-free rate for a few days, then go to 100%. Keep the closed track alive for hotfixes. Details in What happens after 14 days of closed testing.
Keep reading
- Google Play closed testing: the complete guide
- How to get 12 testers
- Testing requirements for Android developers
Want a testing report you can quote in this questionnaire? TesterPilot delivers a written report ranking every issue by severity at the end of the 14 days — start a campaign or ask on WhatsApp.