








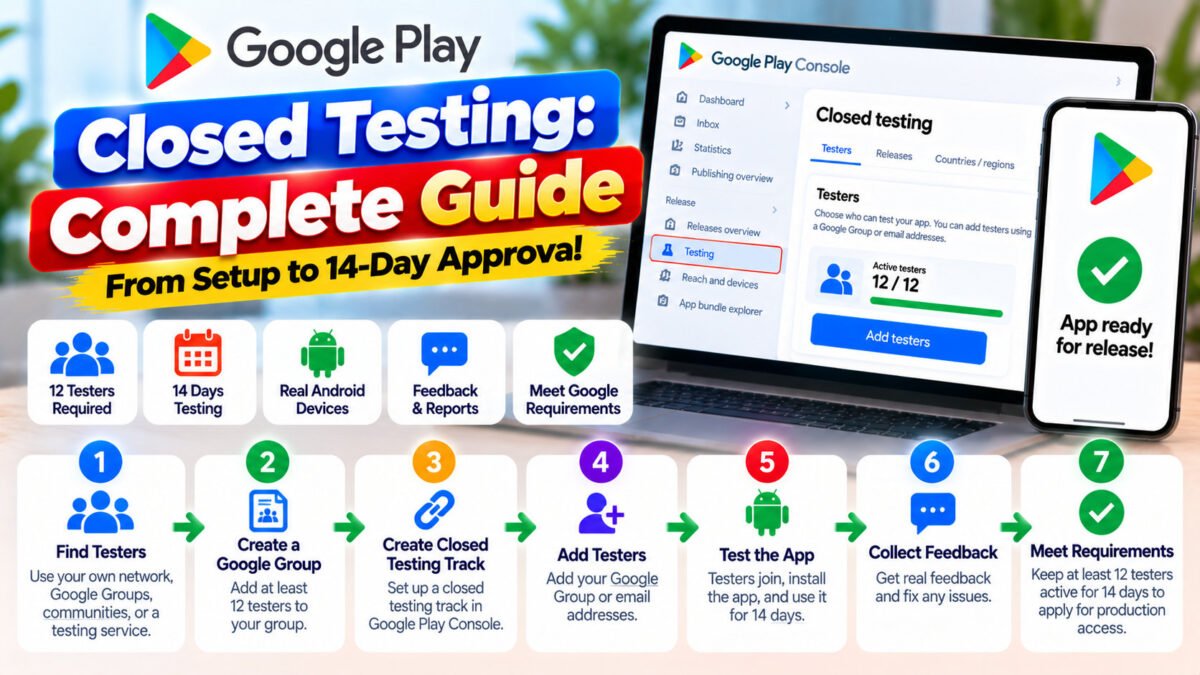
Closed testing is the stage between “my app builds” and “my app is on Google Play”. It is also the stage where most first-time publishers get stuck, because Google turned a quality-control idea into a hard gate for personal developer accounts.
This is the complete picture: what closed testing is, how the requirement works, what the console asks of you, and the sequence that gets an app to production with the fewest lost weeks.
What closed testing is
Google Play gives you four release tracks:
- Internal testing — up to 100 testers you manage directly. Instant, private, and not counted toward the production requirement.
- Closed testing — invited testers, either by email list or Google Group. This is the track that counts toward the 12-tester, 14-day gate.
- Open testing — anyone can join, no invitation. Public-facing testing.
- Production — the real store listing.
In a closed test your app is distributed through Google Play itself, through an opt-in link. Testers accept the link, install from the Store, and receive updates as you publish new builds to the track. Nothing appears publicly in search results.
The requirement in one paragraph
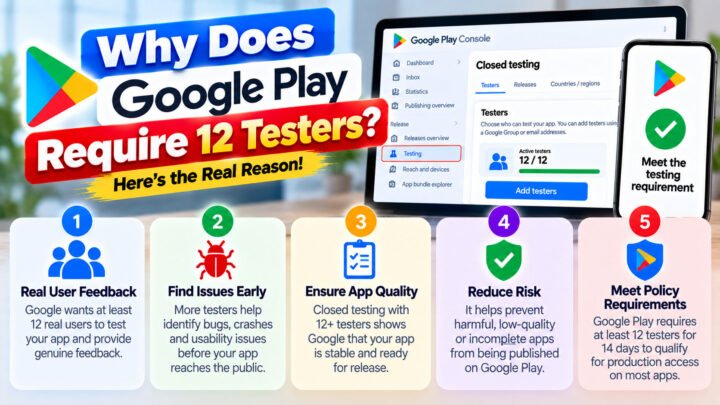
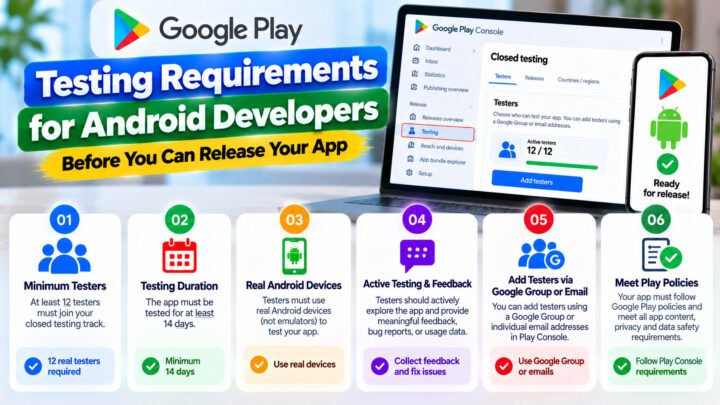
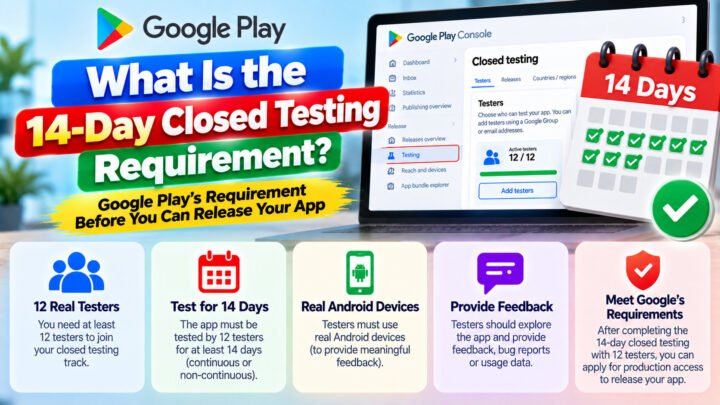
If you registered a personal Google Play developer account on or after 13 November 2023, you must run a closed test with at least 12 testers opted in for 14 consecutive days before you can apply for production access. Both conditions are evaluated continuously: if the opted-in count drops below 12, the consecutive-day count restarts. Organisation (business) accounts are subject to a different, lighter process.
For the full breakdown of why the rule exists and how it is measured, see Why does Google Play require 12 testers?
What you need before you start
- An app bundle (AAB) uploaded to the Closed testing track. APKs are fine for old-style testing but AAB is what Play expects now.
- A complete store listing — app name, short description, full description, at least three screenshots, and a feature graphic. Incomplete listings are a frequent cause of rejection at the production-access stage, so doing this once, properly, saves a cycle later.
- Testers. Aim for 15–20 so natural dropouts do not reset your clock. Where to find them is its own problem, covered separately.
- A content rating and the data-safety form completed. These are quick and unblock your listing.
Setting up the closed test, step by step
- In Play Console open your app → Test and release → Testing → Closed testing.
- Create a track (Google creates one called “Alpha” by default, which you can rename).
- Add testers: create an email list, or attach a Google Group. Groups scale better across future apps.
- Upload the AAB to the track and write short release notes.
- Publish the release. Until you publish, testers have nothing to opt in to.
- Open the Testers tab, copy the opt-in link, and confirm it works on a device that is not yours.
- Share the opt-in link along with the Android version and device requirement.
The mechanics of that list are covered in more detail in How to create a closed testing track and How to add testers in Google Play Console.
Running the 14 days properly
Once your testers are in, the job becomes maintenance. Three habits separate the people who sail through from the people who restart twice:
- Check the opted-in count daily. Not weekly. A dropout on day 3 that you notice on day 10 has already cost you a week.
- Ship updates. Publish a new build with real fixes. The production-access questionnaire asks what you learned from testing, and “nothing” is a bad answer.
- Talk to your testers. A short message on day 4 and day 10 keeps people engaged and gives you material for the questionnaire.
The requirement is a floor, not a target. A test with exactly 12 semi-active testers will usually pass the gate — and will usually struggle at the review stage, because Google can see the difference between a test and a formality.
Applying for production access
Once the requirement is satisfied, the Closed testing track shows an Apply for production access action. You answer a short questionnaire about your testing: how many testers you had, what device coverage you achieved, what feedback you received and what you changed. Then you wait for review.
What happens after 14 days, including how to answer that questionnaire, is covered in What happens after 14 days of closed testing? and How to apply for Google Play production access.
The five ways people fail
- Starting with exactly 12 testers. One dropout at day 9 and the 14 days restart.
- Using internal testing and expecting it to count. It does not.
- Testers who never install. An accepted invite with no install is not a tester.
- Emulators, duplicate accounts or purchased installs. Google detects them; the test can be invalidated.
- An incomplete store listing. You meet the requirement, apply, and get rejected for a description that was missing a feature graphic.
Next steps
- How to get 12 testers for Google Play closed testing — the recruitment playbook.
- What is the 14-day closed testing requirement? — how the counter really works.
- Closed testing vs internal testing — which track to use when.
- Applying for production access — the questionnaire, answered.
If you would rather hand the testing stage to someone who does it every day, TesterPilot runs the full 14 days with real testers on real devices and gives you a written report at the end. Start a campaign or ask a question on WhatsApp.